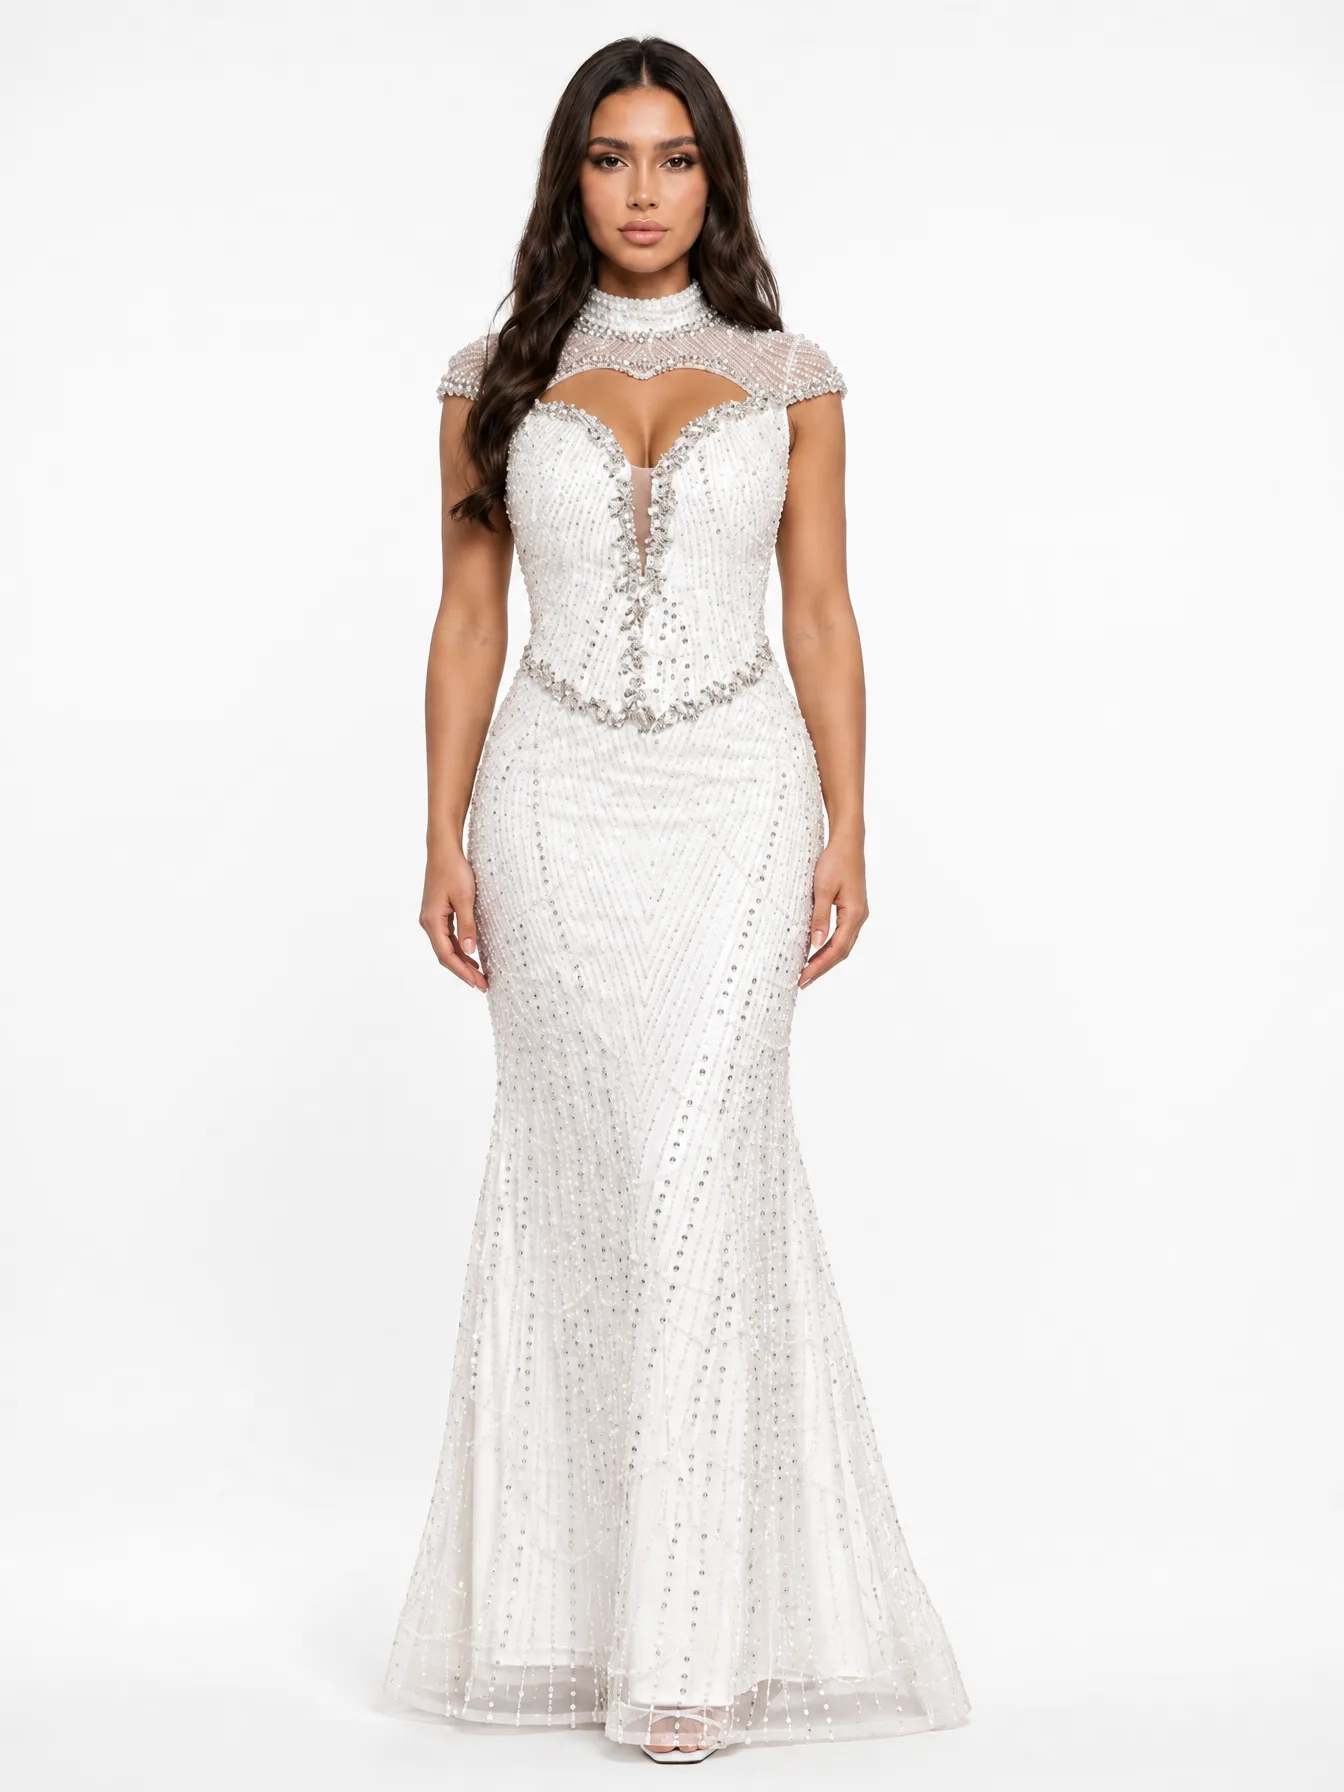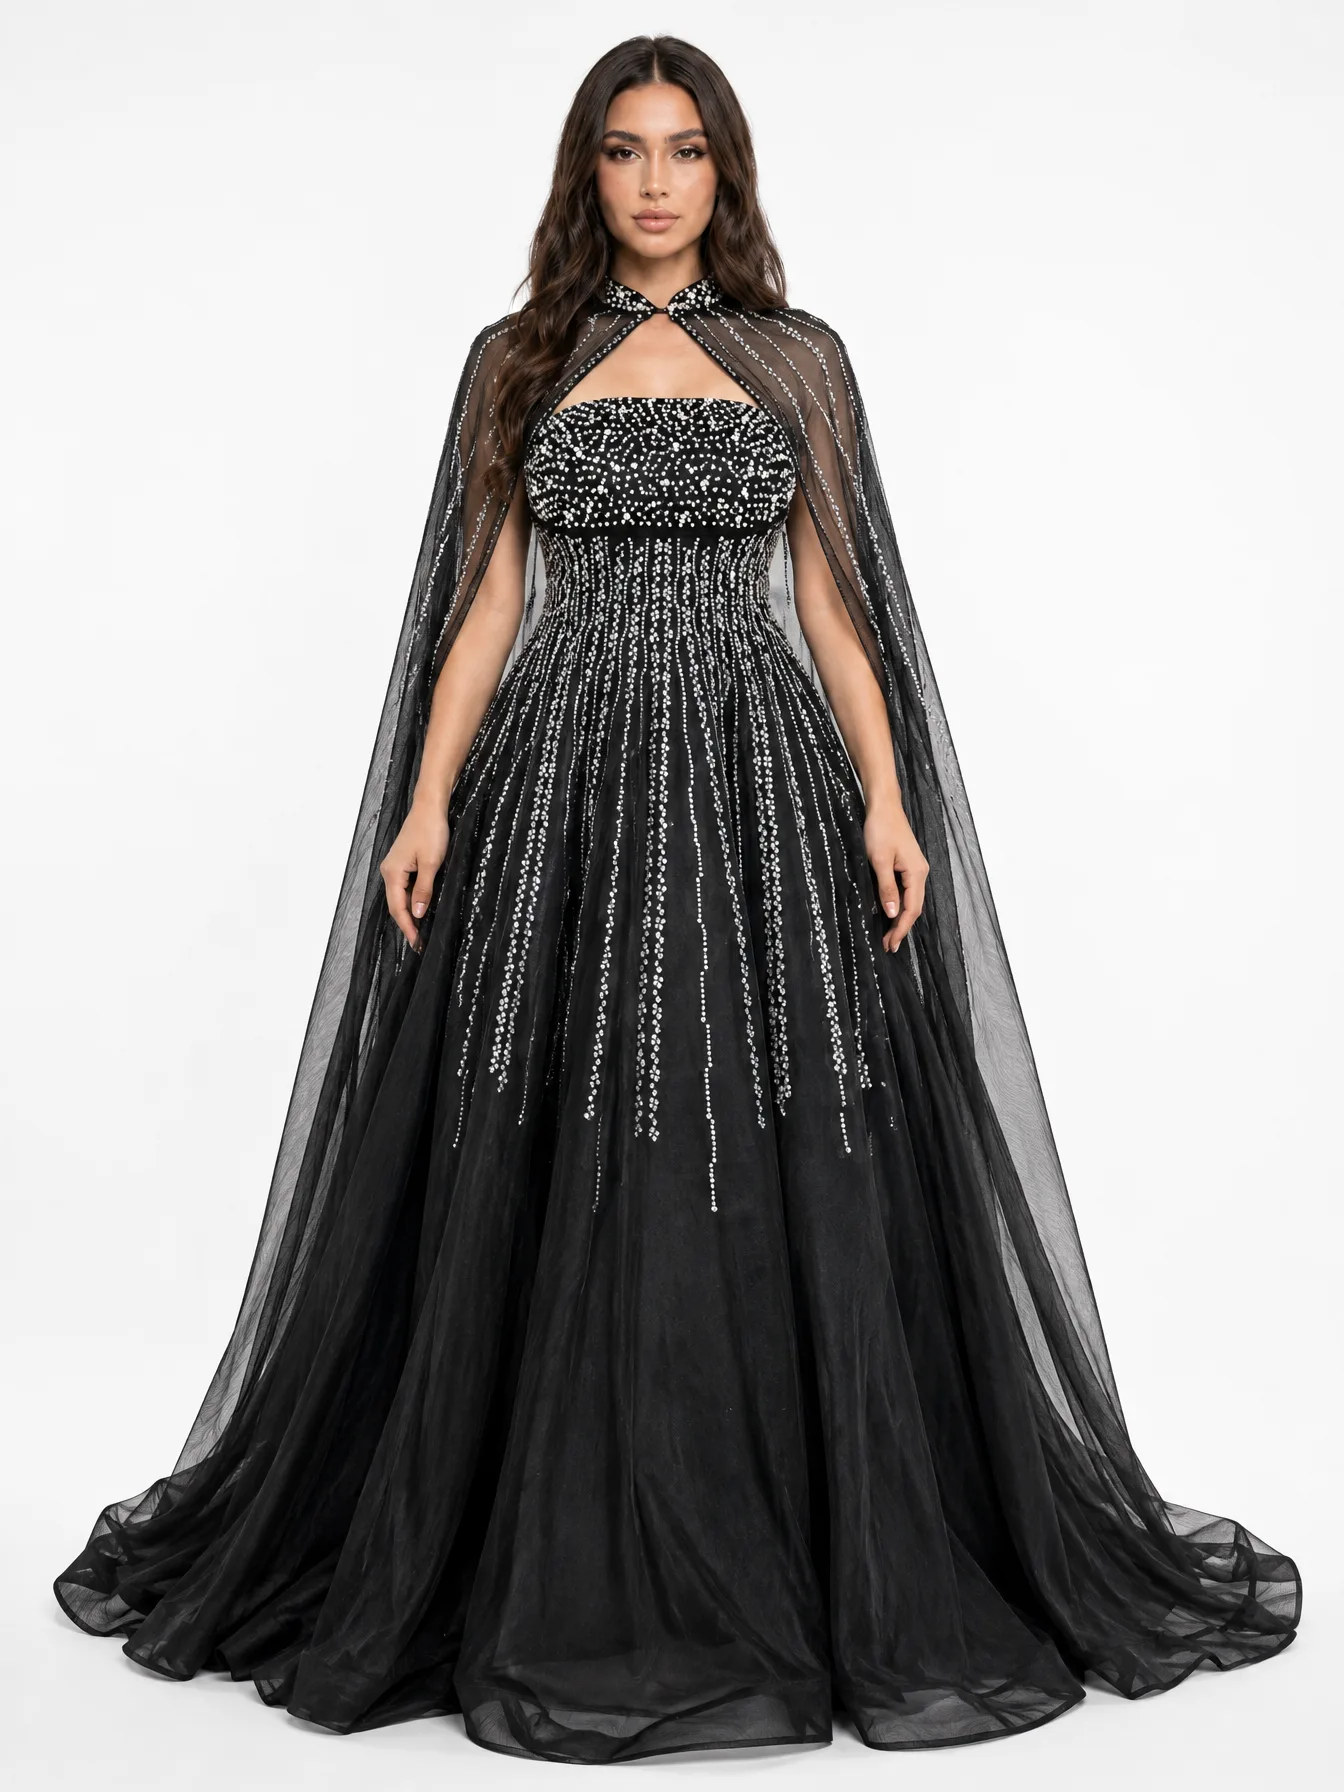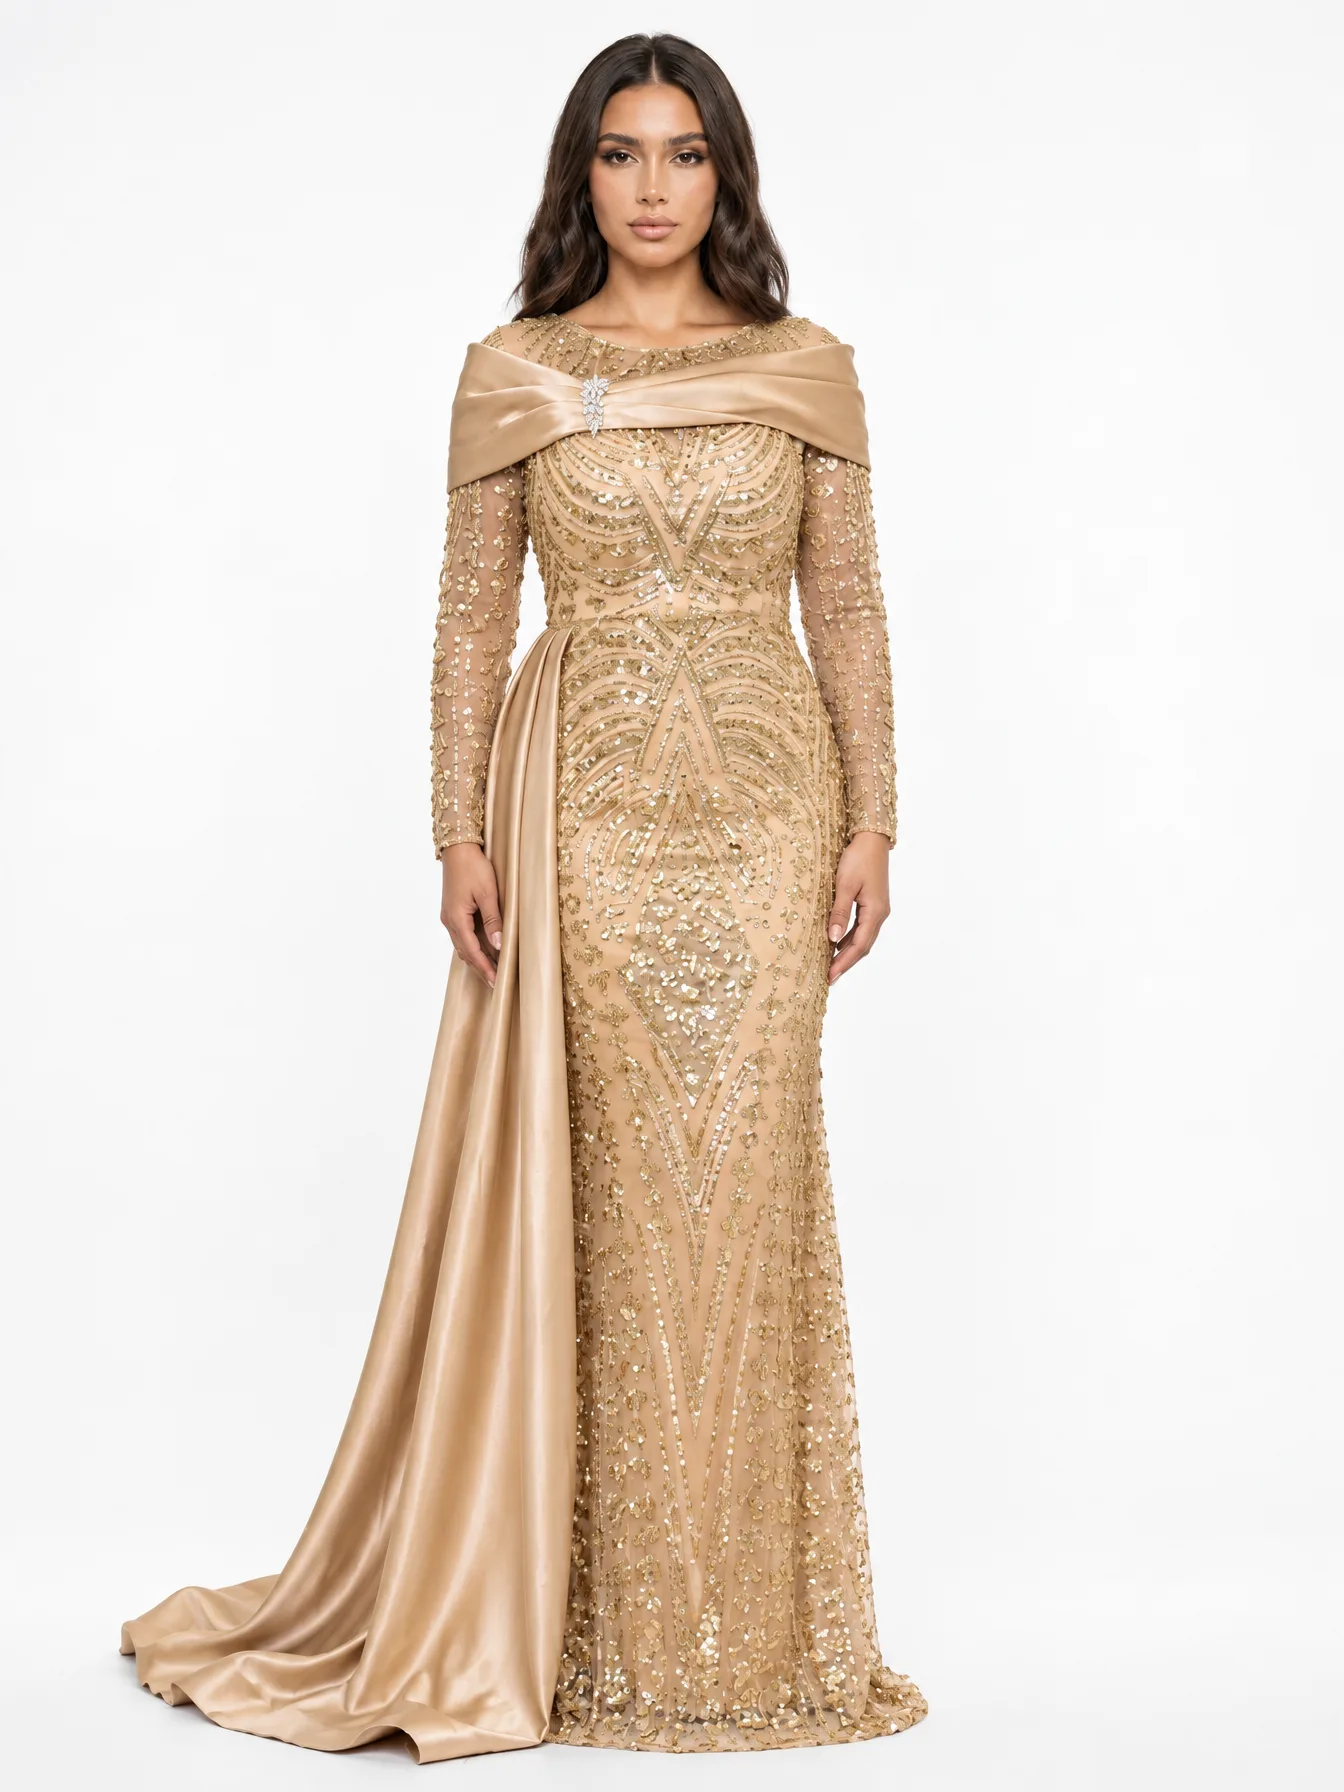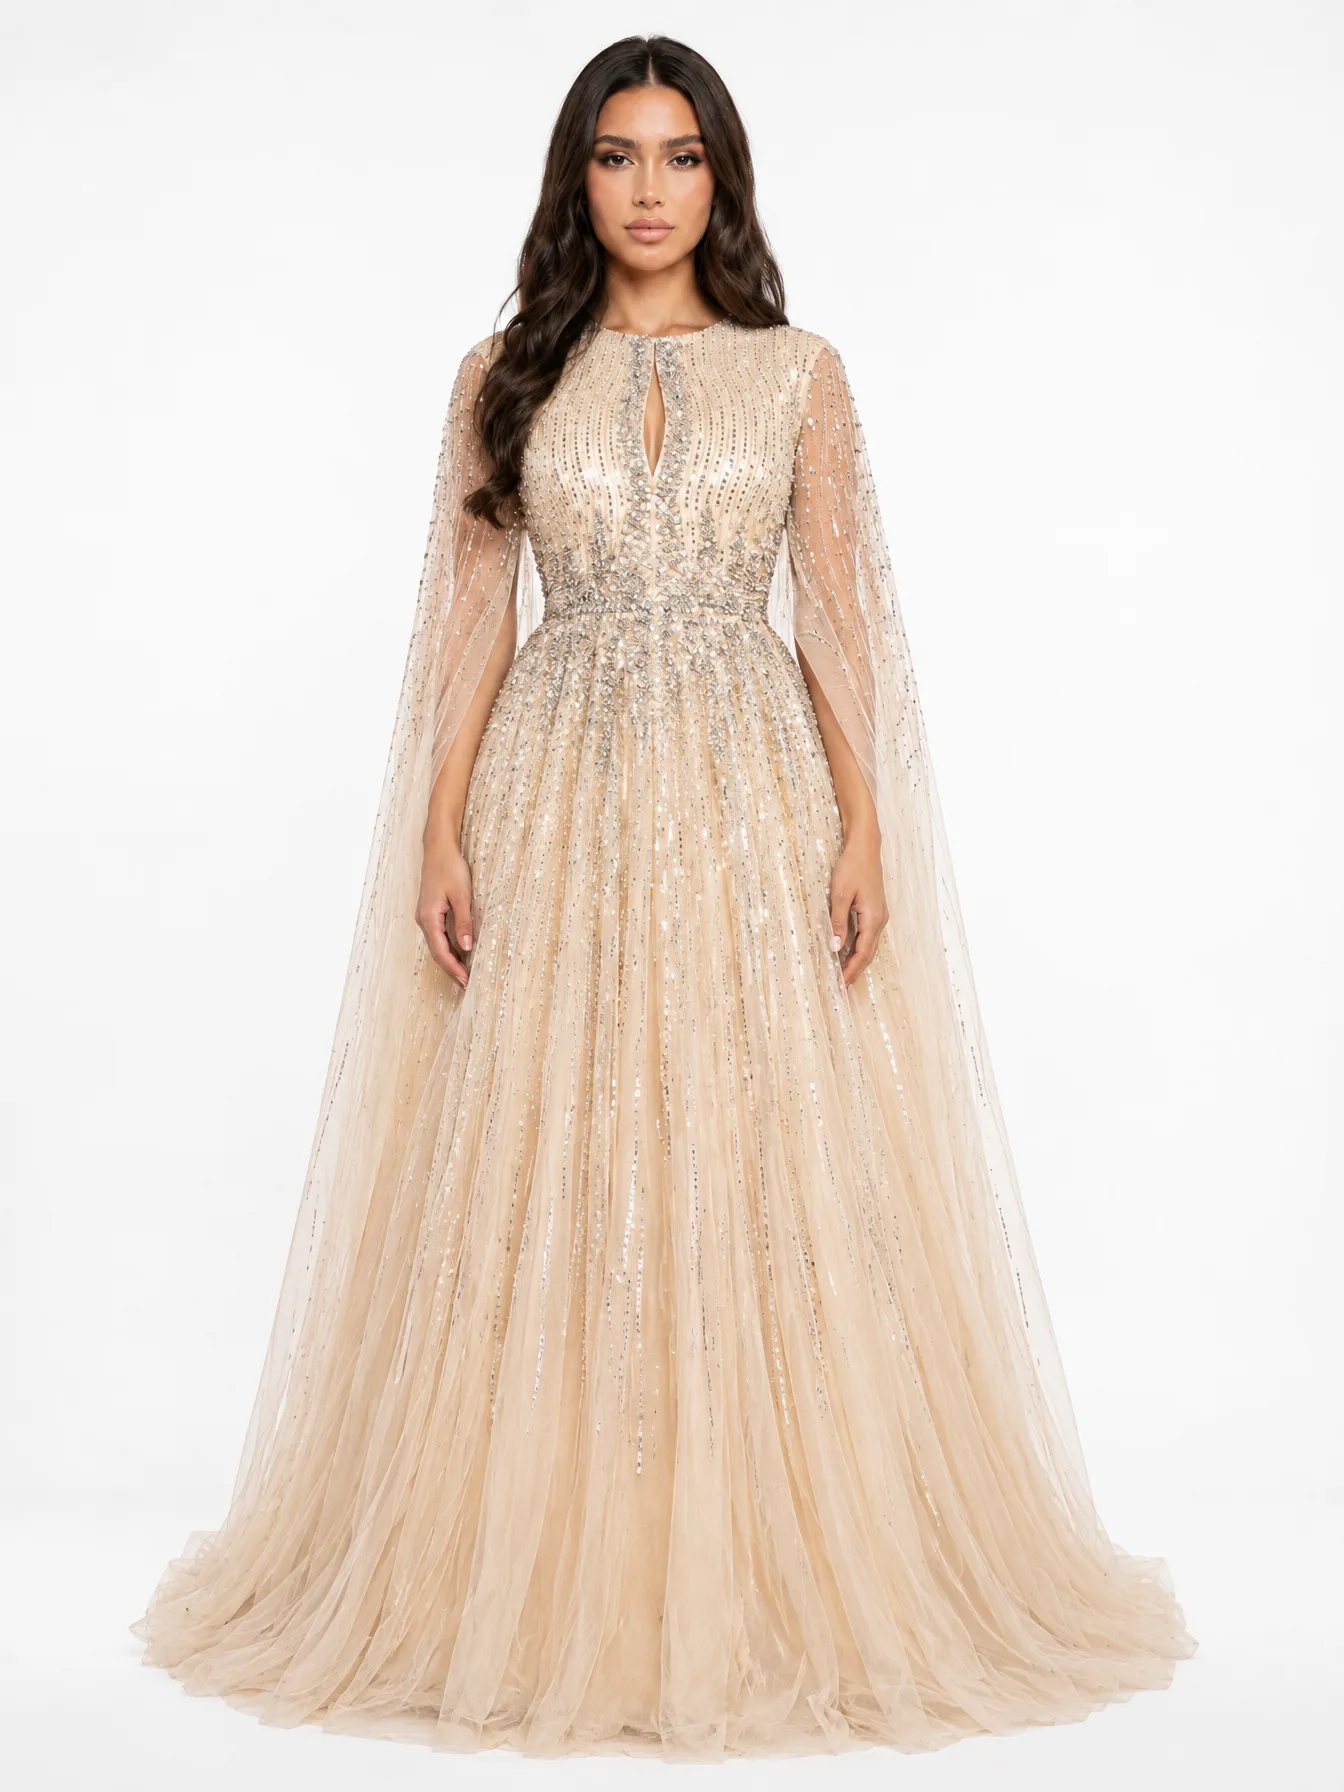
To photograph an evening dress for online sale, light it softly and evenly, set it against a plain light background, and shoot the same set of angles for every design: full front, side, back, and close-ups of the beading and fabric. Above all, make the colour on screen match the dress in your hand. A gown that arrives looking different from its photos is a likely exchange, and in fashion that costs you the sale and a customer's trust. You do not need a studio. A large window, a phone and a careful routine will do most of the work.
Why do accurate product photos reduce exchanges?
Because the photo is the only version of the dress a customer sees before she pays. If it flatters the colour, hides a heavy lining or makes beading look denser than it is, the gap shows up the moment she opens the box. A study commissioned by Royal Mail, reported in 2016, found that 12% of online shoppers had returned an item because it looked different from the pictures. Fit was the bigger reason, but appearance is the one a boutique fully controls.
For a boutique that offers exchanges, every avoidable one costs packing, delivery both ways and a piece that may not resell at full price. Honest photos are cheaper. They also build the kind of trust that brings a bride's sisters and friends back to you. It also helps to say in your exchange policy that screens vary slightly, and to invite customers to ask for an extra daylight photo before they order.
What lighting works best for evening dresses?
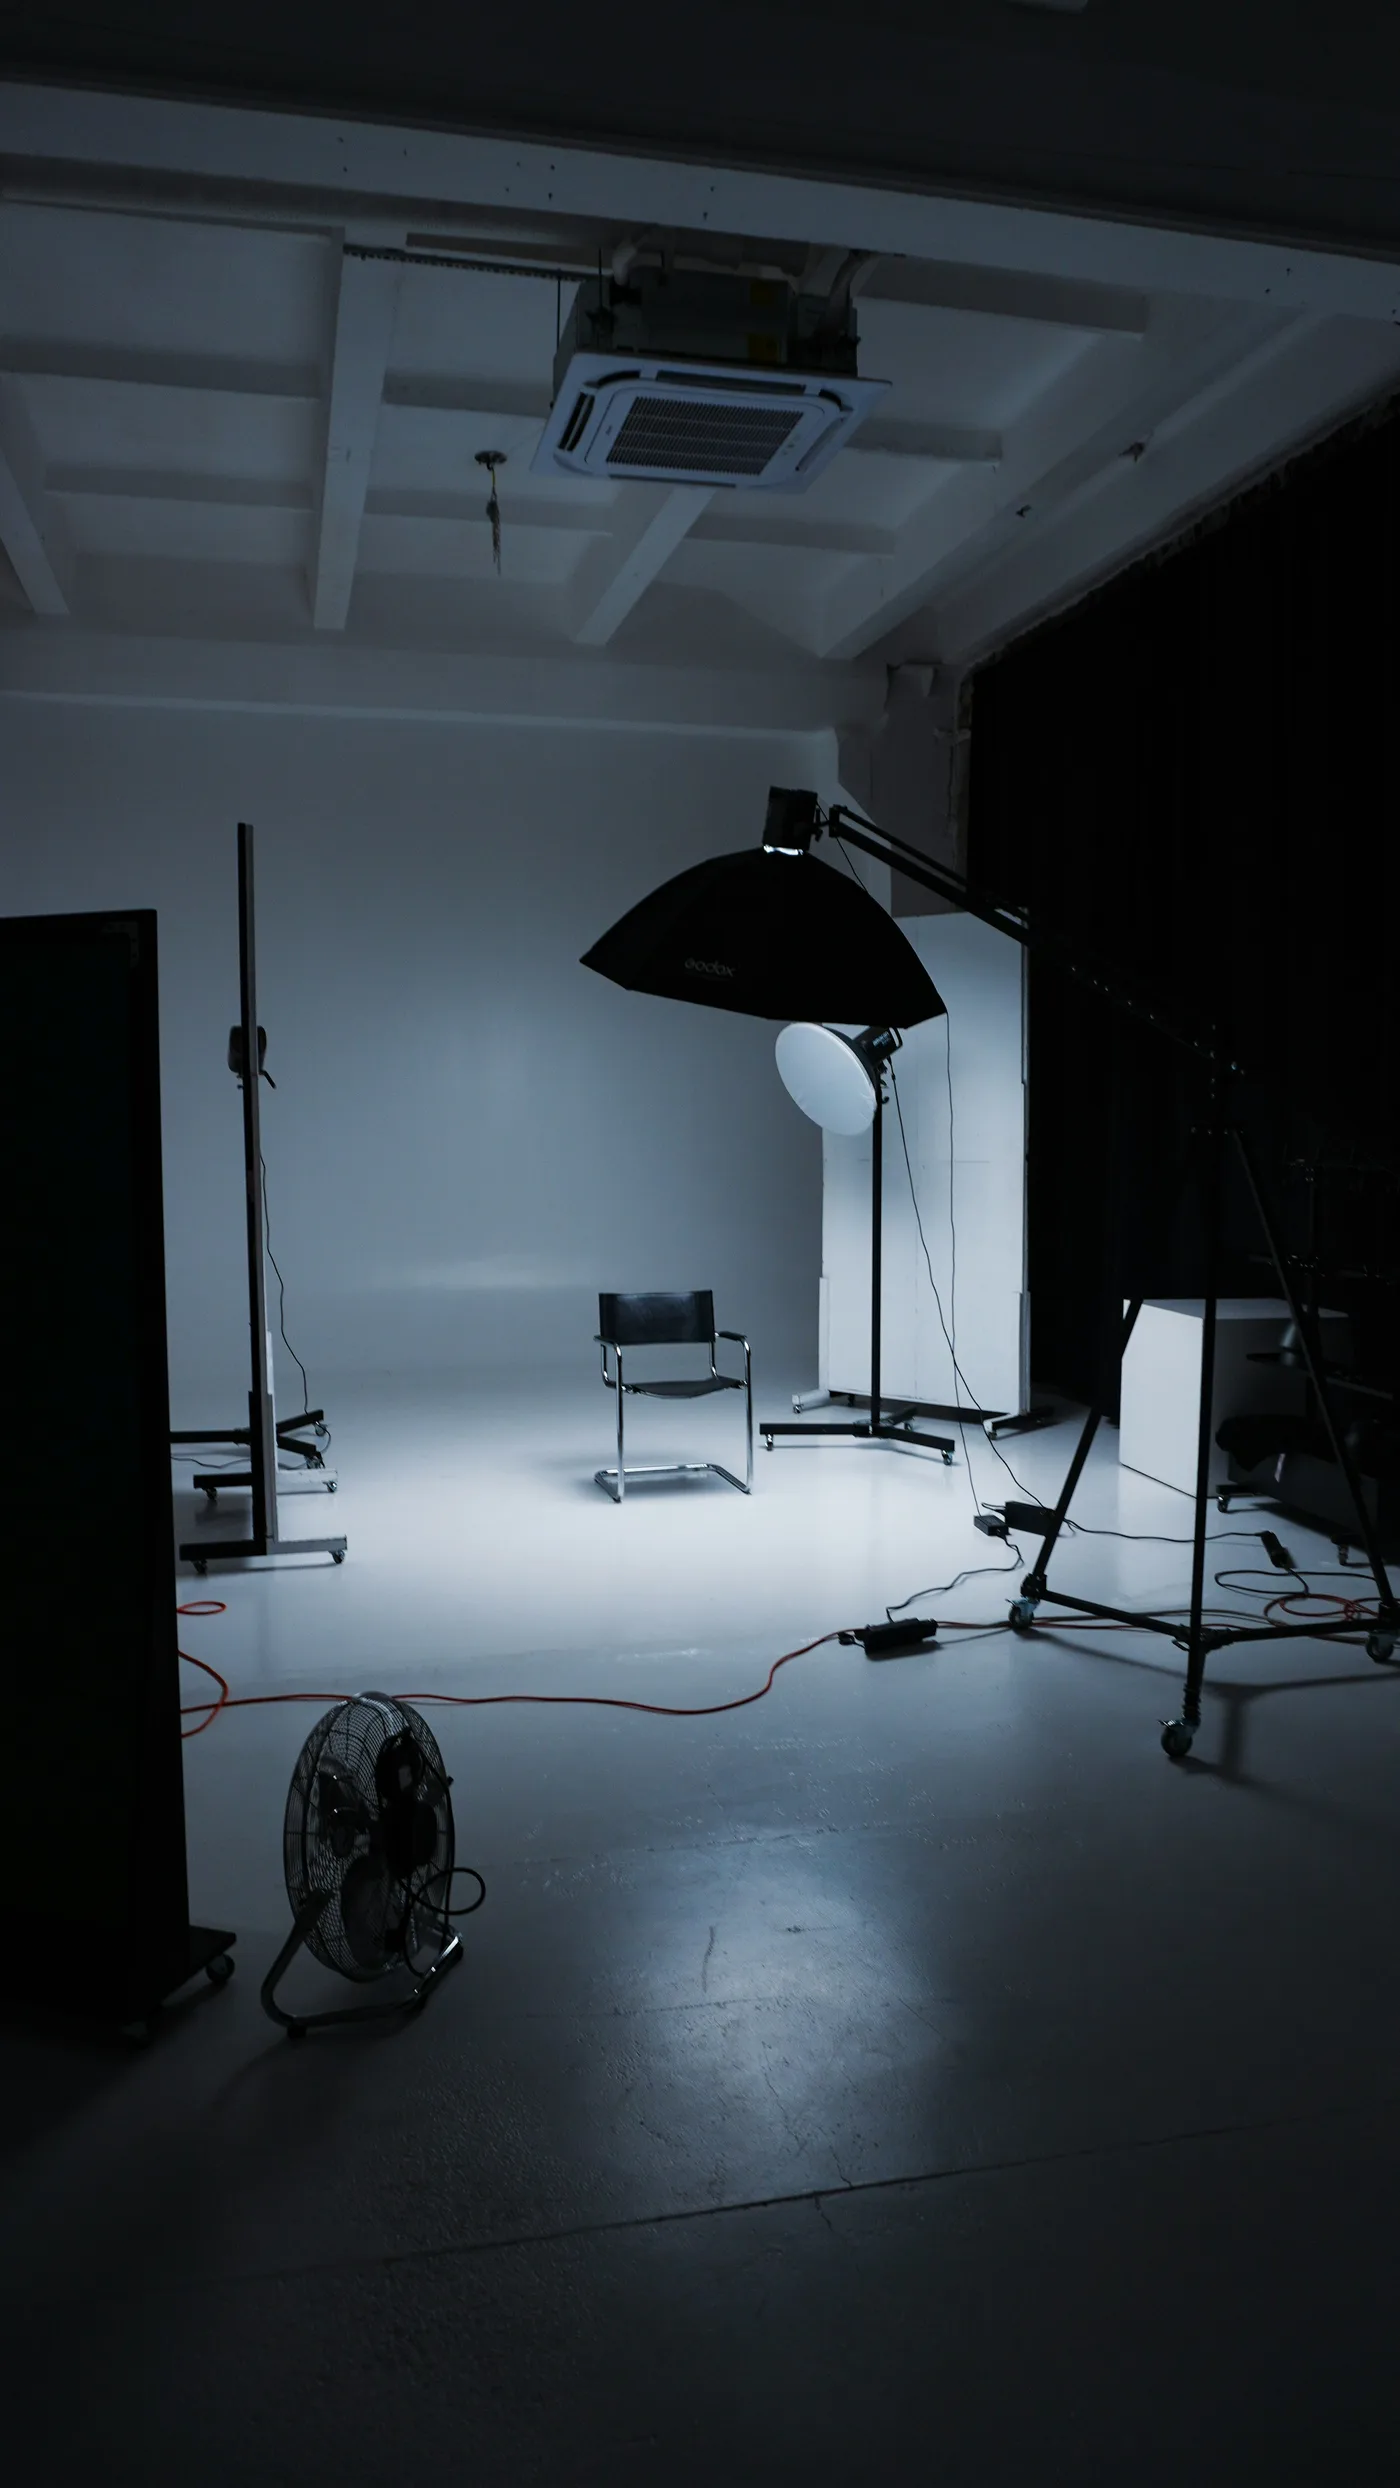
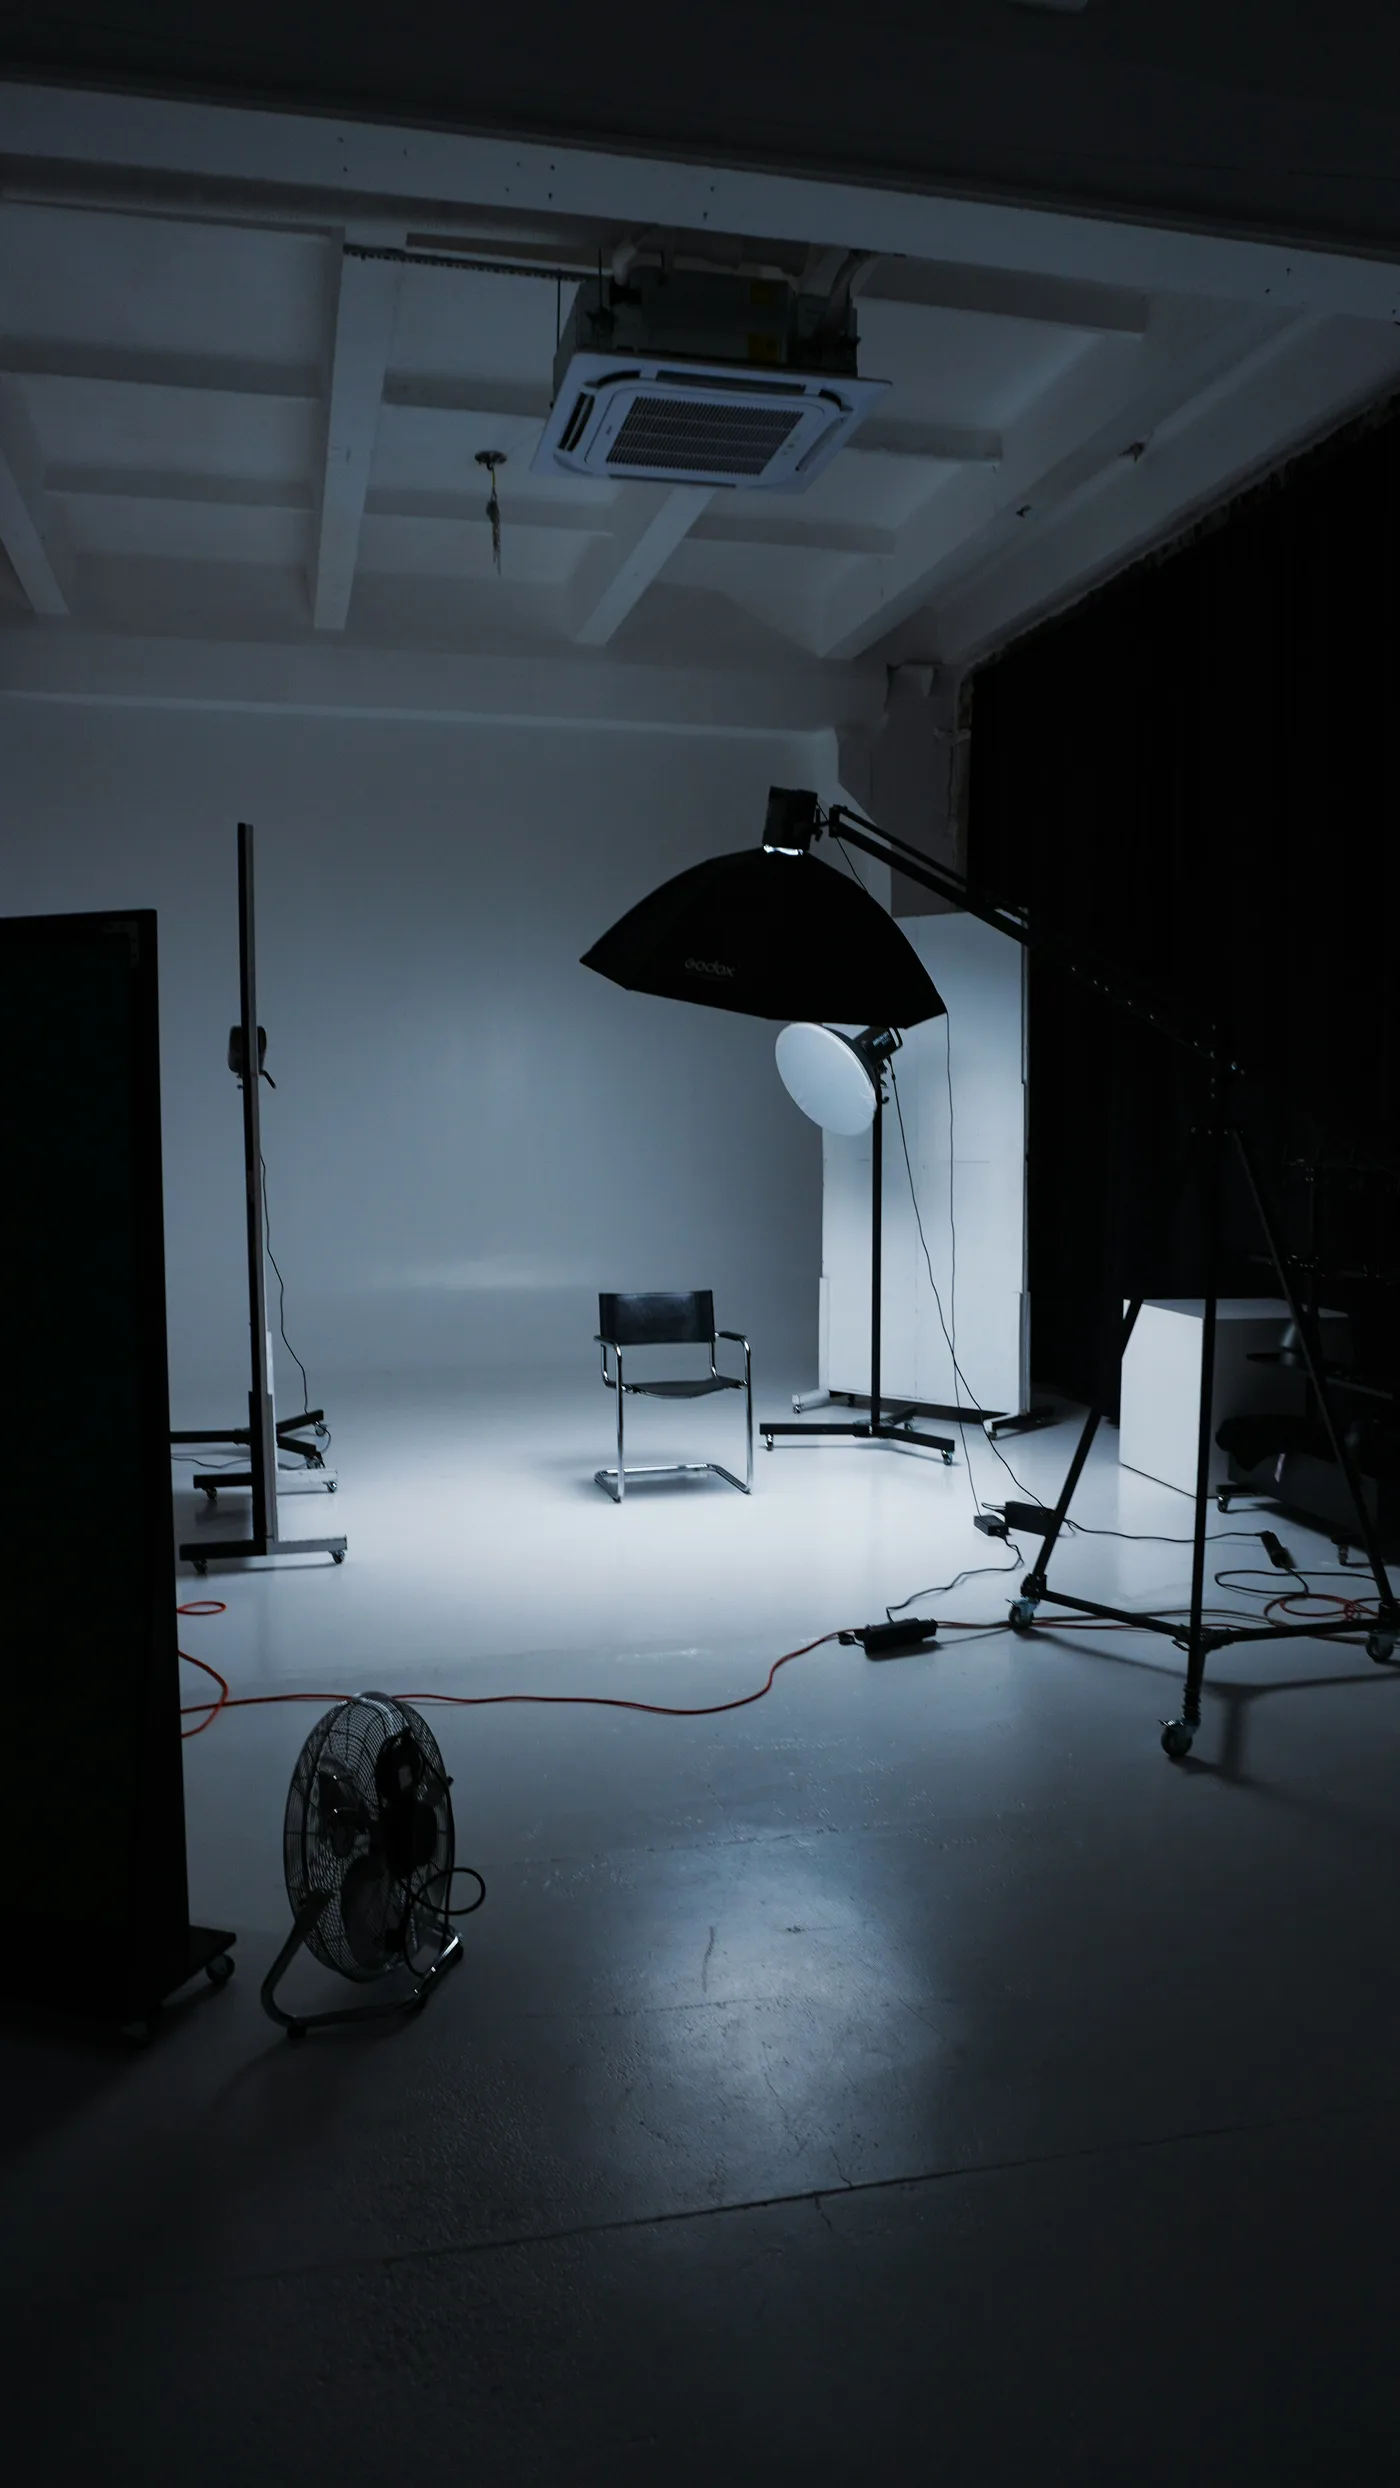
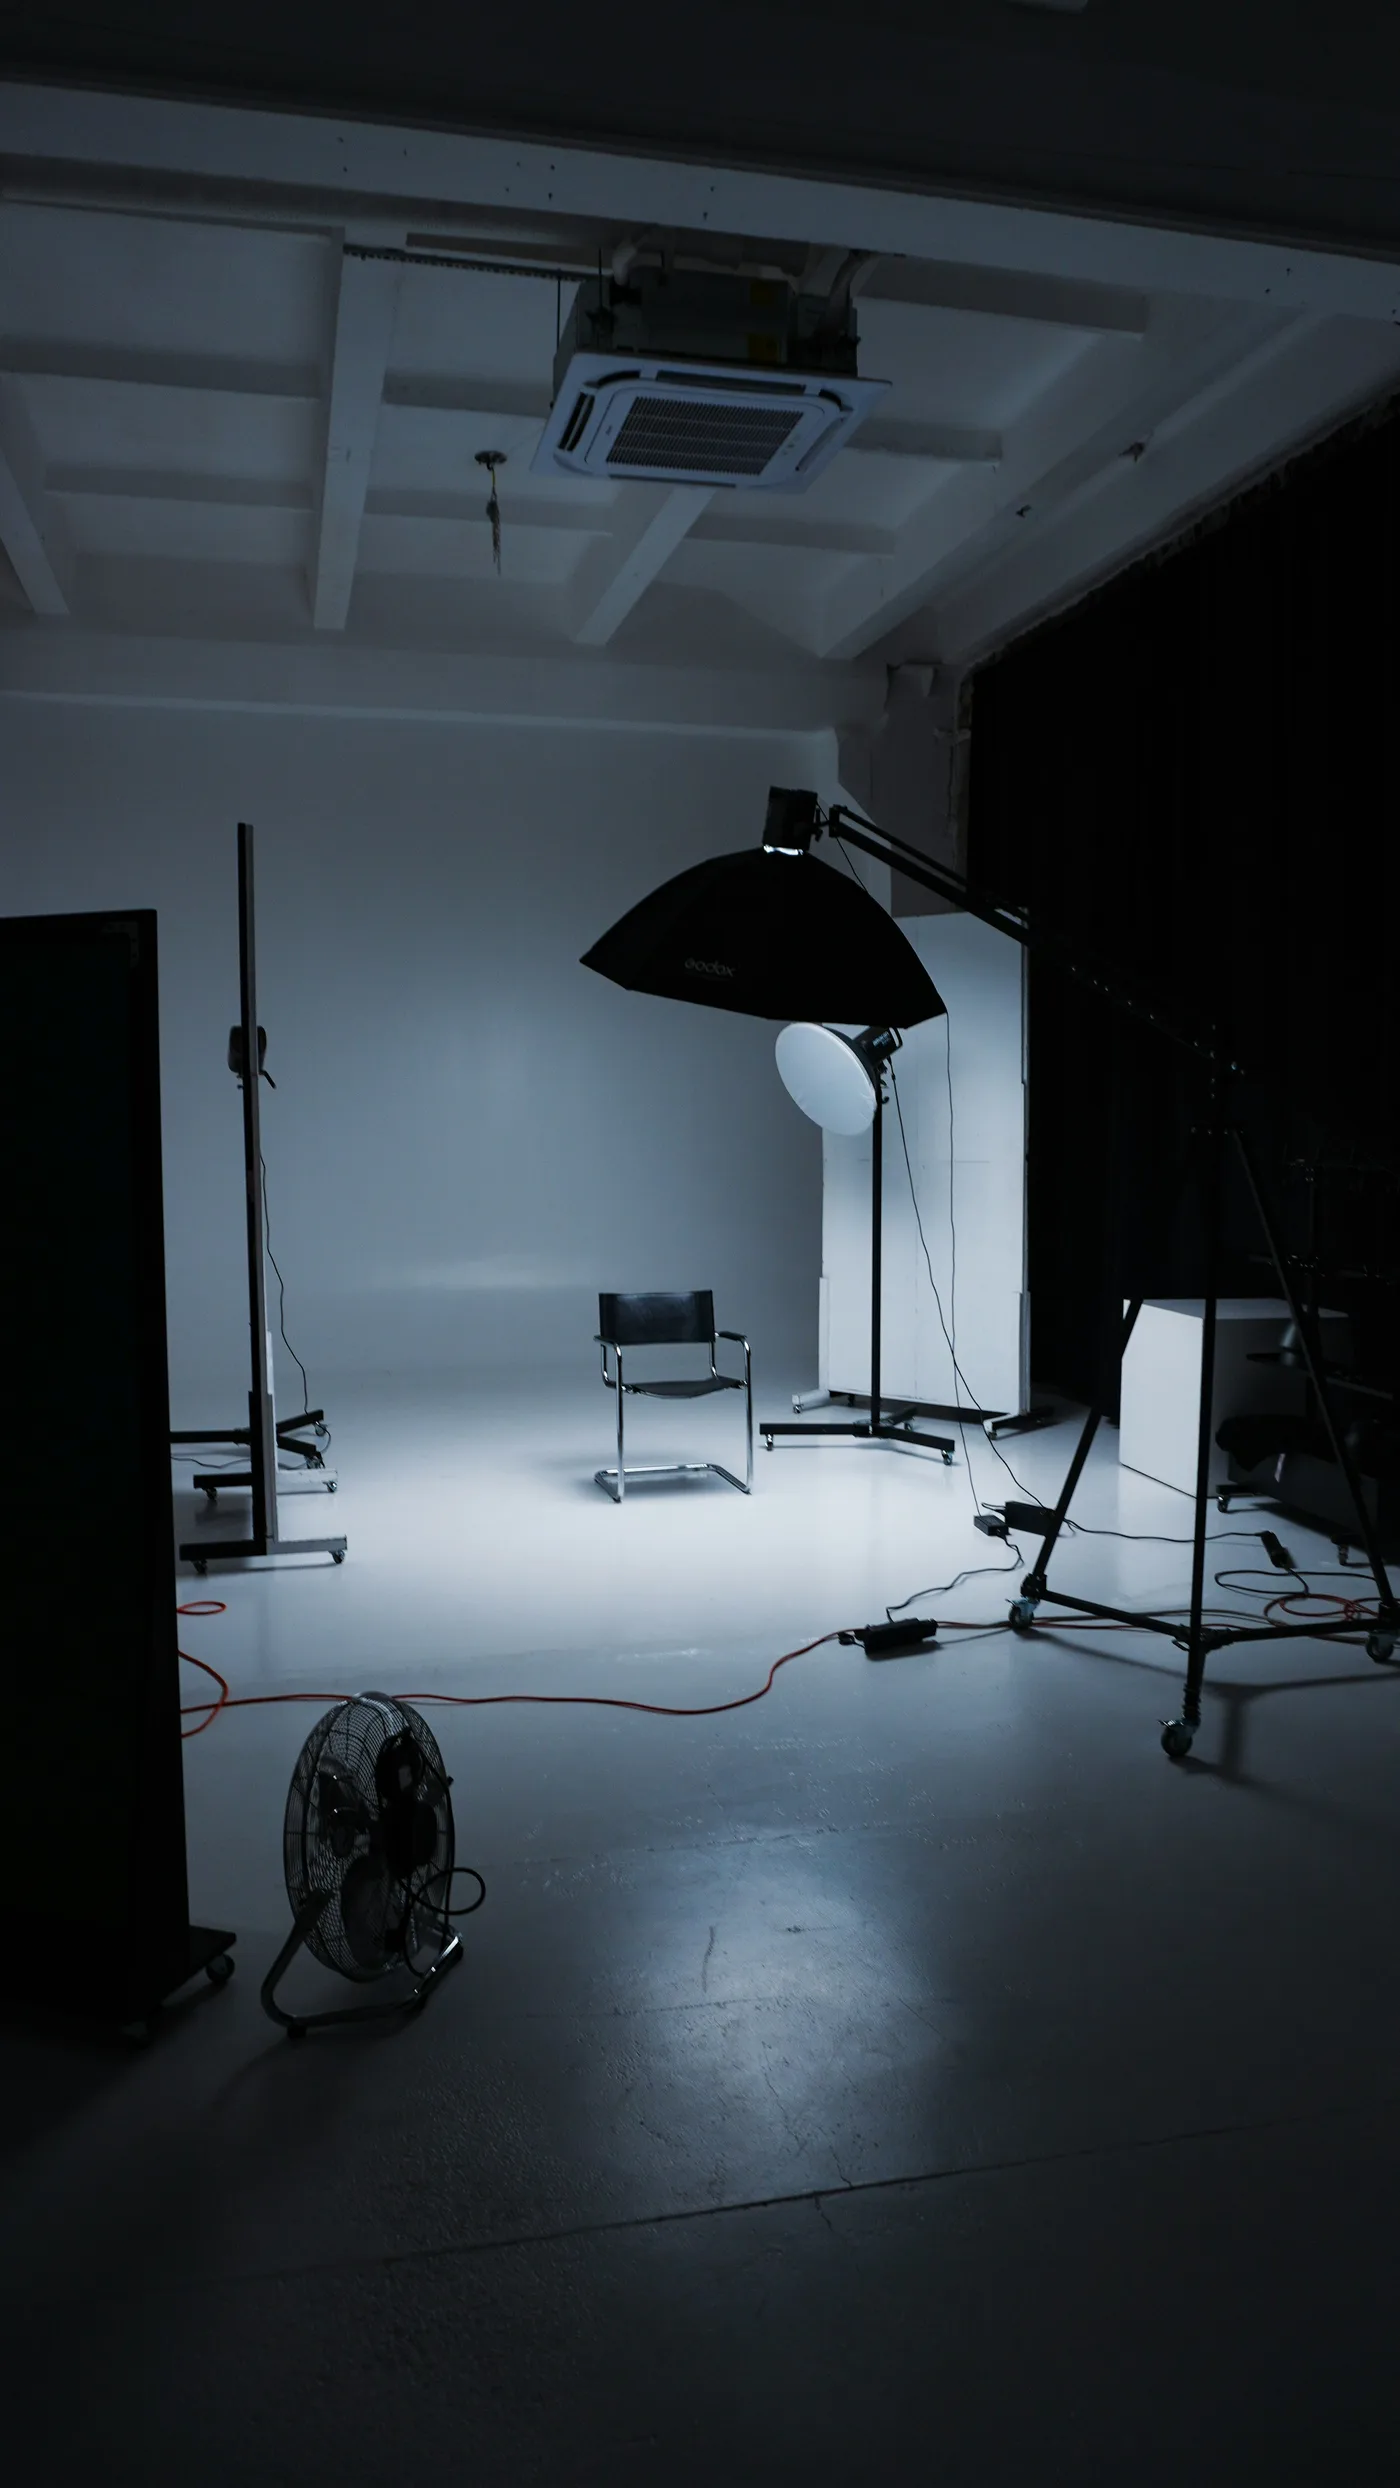
Soft, even light from one main direction. The simplest source is a large north-facing or shaded window in daytime, with the dress a metre or two away and out of direct sun. Hang a white sheet over the window if the light is harsh. Bounce light back into the shadow side with a white board or foam sheet.
- Never mix light sources. Daylight plus warm ceiling bulbs gives one side of the dress a yellow cast that no edit fully removes. Switch the room lights off.
- If you use lamps, use two of the same type, one on each side at about 45 degrees, with diffusers or softboxes.
- Sequins and crystals need a little directional light to sparkle. A second, smaller light from the side brings out texture without flattening the colour.
- Dark gowns need more light than you think, or the detail disappears into black. White and champagne gowns need less, or the highlights burn out and the fabric looks flat.
Shoot every design in the same spot at the same time of day, so your range looks consistent side by side.
Mannequin, model or flat lay: which should you use?
Each has a place. Most boutiques use a dress form for the main catalogue and add a worn shot or video when they can.
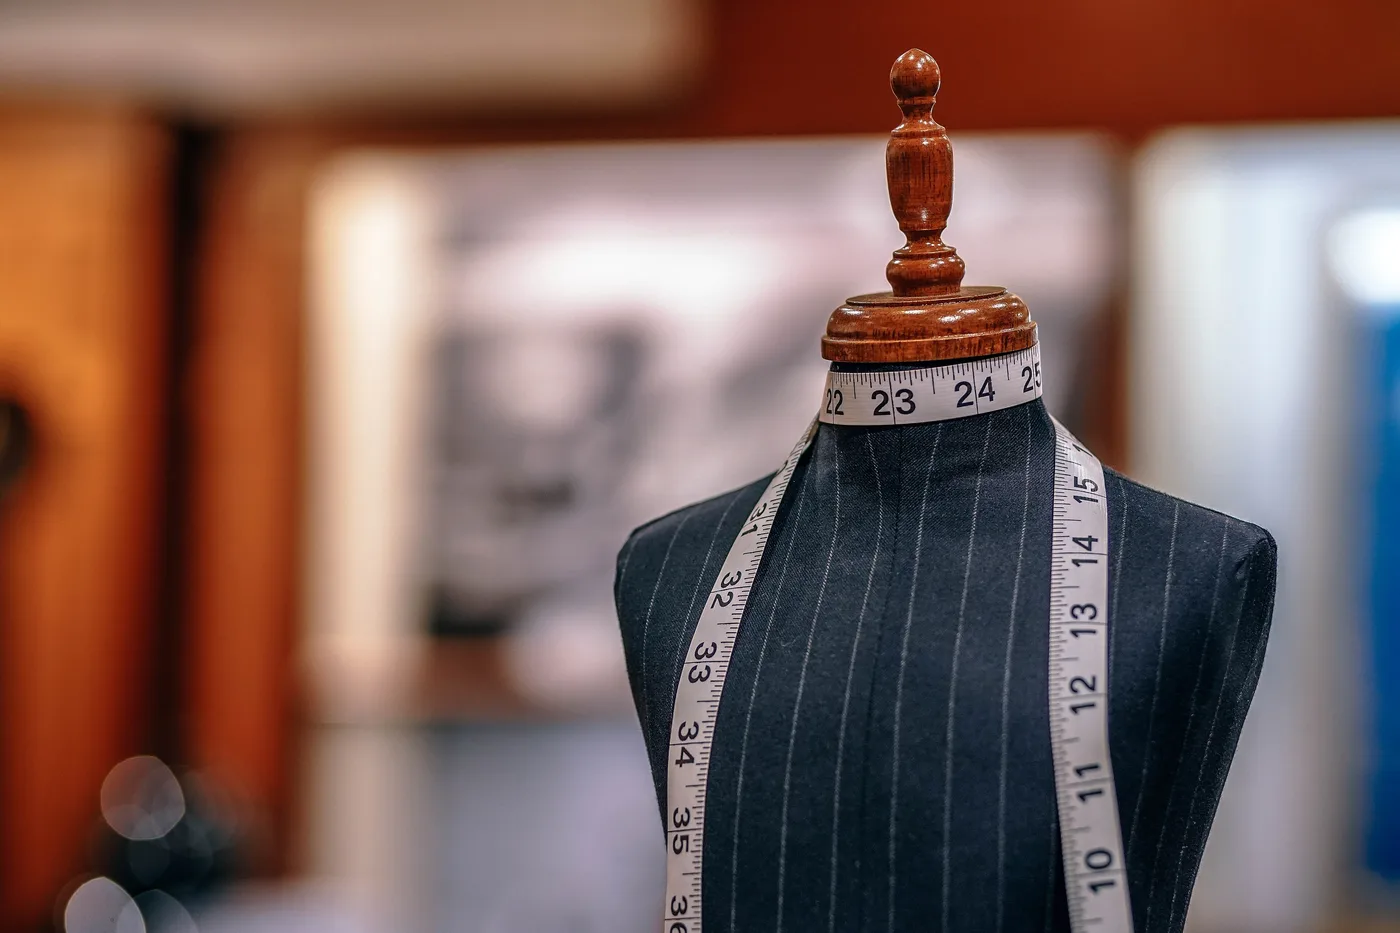
- Dress form: consistent, cheap and modest. It shows shape and length well, and every design is photographed on the same body. Pad it to a standard size, pin the back so the fit looks right from the front, and use a form with a neck so high collars sit properly.
- Model: shows movement, drape and how a train behaves. Google's guidance for clothing listings recommends showing apparel on a real person, without cropping the head or feet in full-length shots. Many Gulf boutiques use shots from behind, below the shoulders, or a model who has agreed to be shown.
- Flat lay: fine for kaftans, accessories and fabric details, poor for structured gowns. A full skirt or corset loses its shape lying down.
Whatever you choose, use the same for every design in a category, so shoppers compare dresses rather than set-ups.
Which angles and detail shots does every dress need?
Build one shot list and use it for every design, in the same order.
- 1. Full front, head to hem, camera at waist height, dress centred.
- 2. Side, to show the silhouette and how full the skirt is.
- 3. Full back, including the closure, train and any cape.
- 4. Detail of the bodice or neckline, close enough to count the beads.
- 5. Detail of the fabric and its texture, ideally with a hand or ruler for scale.
- 6. Inside details if they sell the dress: boning, lining, a hidden zip.
- 7. A short video or a three-quarter shot that shows movement.
Hand-beaded pieces deserve extra detail shots. A gown such as the hand-beaded crystal collar gown sells on the collar, so photograph it straight on and at an angle, where the crystals catch the light. Google recommends adding extra images for different angles and close-ups, and says every image of a colour should show that same colour.
How do you get the colour right?
Colour is where most misleading photos go wrong, usually by accident. Phones and cameras guess the white balance, and they guess differently for a gold dress than for a navy one.
- Use a grey card. Put an 18% grey card where the dress hangs, in the same light, and take one frame with it. In editing, click the card with the white-balance tool and apply the same correction to every photo from that session. Repeat whenever the light changes.
- Compare on screen with the dress beside you, in daylight. If the screen shows dusty rose and the fabric is closer to blush, fix it before posting.
- Name colours consistently. Use the same name on the photo, the listing and the invoice. Google's merchant guidance asks that colour names match across the listing.
- Photograph every colour of a design separately. Do not recolour one photo digitally to show another shade.
- Avoid filters and beauty modes. They are made for faces and shift fabric colour.
Some shades are hard to photograph: burgundy, emerald, champagne and metallics. For those, add a note such as "slightly deeper in person" if that is what you see. Customers forgive a note; they do not forgive a surprise.
What phone camera settings should you use?
A recent phone is enough for a catalogue if you take control of a few settings.
- Use the main lens at 1x and move closer rather than zooming. Digital zoom loses detail in beading.
- Put the phone on a tripod at waist height, and use a timer or remote so it does not shake.
- Lock focus and exposure. On an iPhone, touch and hold the dress on screen until AE/AF Lock appears, then drag the exposure slider if needed. Most Android phones have a similar lock or a Pro mode.
- Turn off flash, portrait mode and beauty filters. Portrait mode blurs the edges of tulle and chiffon.
- Clean the lens. A fingerprint gives every photo a soft haze.
- Shoot at the highest resolution. Google's clothing guidance suggests at least 1,500 pixels wide, so images stay sharp when shoppers zoom.
How should you size, name and describe the images?
Consistency makes a small range look professional.
- Pick one aspect ratio for all product images and keep the dress the same size in the frame. Google's guidance for clothing suggests 9:11 for vertical images and a plain white or transparent background for the main shot.
- Name files descriptively, for example navy-sequin-mermaid-gown-back.jpg rather than IMG_4021.jpg. Google treats file names as a small hint about what an image shows.
- Write alt text for every image: a short sentence saying what is in the photo, such as "Back of a navy sequinned mermaid gown with a low draped wrap". Google calls alt text the most important attribute for image metadata, and the W3C's accessibility guidance says it should convey what the image means in context. Do not stuff it with keywords.
- Write alt text in Arabic too if your site has an Arabic version.
The same photos can then serve your website, your WhatsApp catalogue and Instagram. Our guide to selling on Instagram and WhatsApp covers how to use them there.
Can you use your supplier's photos?
Often, with permission, but check them against the real dress first. Supplier photos are sometimes taken under studio lights or retouched, and the piece you receive may differ slightly in shade. Ask your supplier in writing whether you may use their images, and photograph each piece yourself when it arrives so you can confirm the colour before you sell it. When you shop for stock, as with Lianora's evening dresses, compare the listed colour names with what you receive and use your own photos where they differ.
Questions
What background is best for photographing dresses?
A plain white, off-white or light grey background works for almost every colour and keeps attention on the dress. Google recommends a solid white or transparent background for the main clothing image. Save textured or styled backgrounds for secondary and social media images.
How do you photograph sequins without glare?
Use a large, soft main light so the sequins do not throw hot spots back at the camera, then add a small light from the side for sparkle. Shoot slightly from the side rather than straight on, and take a short video, since sequins read better in motion.
How many photos should each dress listing have?
Five to seven is a practical target: front, side, back, two or three details and one shot that shows movement. Fewer than four leaves shoppers guessing about the back and the fabric, which leads to questions and exchanges.
Is it acceptable to edit dress photos?
Correcting white balance, exposure, straightening and removing dust or creases from the background is normal. Changing the colour, slimming the silhouette or adding sparkle that is not on the dress is not, because the customer will see the difference when it arrives.
Sources
- Google Merchant Center Help, Best practices for advertising clothing and accessories
- Google Search Central, Google Images SEO best practices
- W3C Web Accessibility Initiative, Informative images
- Pixelz, Need accurate colour? Let grey cards and white balancing come to the rescue
- Apple Support, Use iPhone camera tools to set up your shot
- ChannelX, 12% of consumers have made a return as it looks different to the picture (Royal Mail study, May 2016)